zinc phosphate cement should be mixed
What is Zinc Phosphate Cement?
Zinc phosphate cement is a well-established material in dentistry, recognised for its durability and reliability. Understanding its components and applications is essential to appreciating why it’s such a popular choice among dental professionals.
Key Components
Zinc phosphate cement consists of two main ingredients: zinc oxide and phosphoric acid. These components play distinct roles in achieving the cement’s optimal properties.
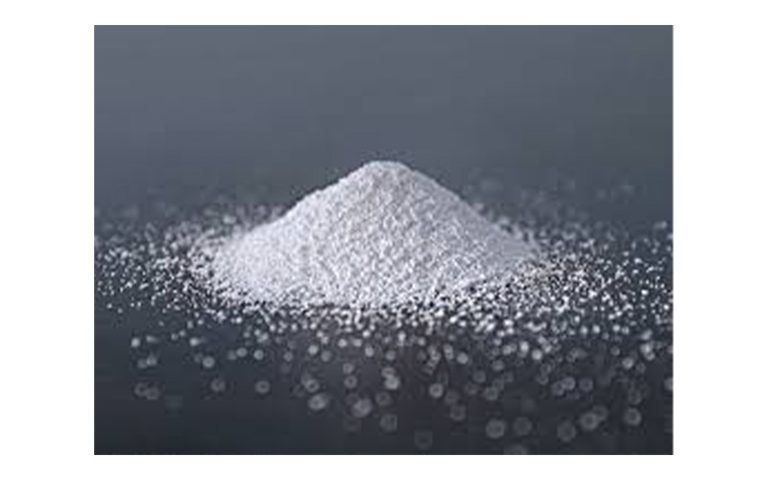
- Zinc Oxide Powder: This is the base of the material, typically making up the majority of the powder. Zinc oxide contributes to the cement’s mechanical stability and overall strength. A small percentage of magnesium oxide is also often added to enhance its durability.
- Phosphoric Acid Liquid: This acts as the acidic component, which reacts with the zinc oxide to form a rigid matrix upon setting. The ratio of phosphoric acid to water can affect the working time and setting characteristics, making proper mixing crucial for ideal performance.
The combination of these two elements creates a strong and long-lasting cement that sets through an exothermic reaction. This system gives zinc phosphate cement its ability to bond securely to tooth structures and restorations.
For more technical insights into the components of zinc phosphate cement, refer to this detailed overview.
Applications in Dentistry
Its primary applications include:
- Permanent Luting of Crowns and Bridges: It provides reliable adhesion for metal and porcelain crowns, ensuring they remain securely attached.
- Stress-Bearing Restorations: Thanks to its high compressive strength, zinc phosphate cement is ideal for restorations in stress-bearing areas, such as those subjected to heavy chewing forces.
- Orthodontic Bands: Its excellent bonding properties make it suitable for securing orthodontic bands in place, where stability is critical.
- Base Material: In some cases, it can also be used as a base beneath restorations
It’s worth noting that while newer materials like composite resin cements have entered the market, zinc phosphate cement remains a preferred option for specific situations due to its proven track record. To explore its various uses and properties further, check out this resource.
Understanding the breadth of its applications highlights why this cement continues to play a pivotal role in dentistry. It’s a trusted solution for providing strong, long-lasting restorations that withstand the test of time.

Necessary Tools and Setup for Mixing Zinc Phosphate Cement
When it comes to mixing zinc phosphate cement, having the right tools and an optimised setup is non-negotiable. A well-prepped workspace ensures consistency and quality in your mixes, directly influencing the performance of your dental restorations. In this section, we cover the necessary tools and environmental preparation to perfect the process.
Required Tools
To achieve the precise ratio and texture for zinc phosphate cement, you’ll need a few specific tools. Each plays a vital role in simplifying the process and ensuring optimal results:
- Glass Slabs: A cool, clean glass slab is essential for maintaining the correct temperature during mixing, which extends the working time of the cement. A slab that is too warm might cause premature setting.
- Stainless Steel Spatula: Ideal for mixing cement powder with liquid, a metal spatula helps achieve a uniform consistency.
- Calibrated Dispensing Syringes: These are crucial for measuring the exact amounts of liquid and powder. Accurate measurements help maintain the cement’s desired properties and prevent inconsistencies.
- Mixing Pads (Optional): While glass slabs are preferred, disposable mixing pads can serve as an alternative for small quantities, offering convenience without compromising functionality.
Having these tools on hand will make the mixing process straightforward and ensure you get the best results every time. For a detailed breakdown of instruments used, refer to this guide.
Preparing the Work Area
Several external factors can affect the outcome of your mix, so setting up a proper workspace is just as important as having the right tools.
- Temperature Control: Ideally, the ambient temperature should be around 68°F (20°C). Excessive heat accelerates the setting reaction, reducing your working time, while cooler temperatures prolong it. You can read more about temperature’s impact on dental materials here.
- Humidity Management: High humidity can alter the water
Post-Mixing Handling and Application
Once you’ve mixed zinc phosphate cement, the next steps are crucial to ensure a successful restoration. Proper handling, application, and finishing can make the difference between a seamless result and unnecessary complications. Below, you’ll learn the key techniques to achieve professional results efficiently.
Application Techniques
Effectively applying zinc phosphate cement requires precision to ensure consistent coverage and minimal material waste. Start by loading the mixed cement onto the restoration or prepared tooth surface in a thin, even layer. This helps achieve maximum adhesion without excess bulk.
Steps to apply cement effectively:
- Prepare the Restoration Surface: Ensure the restoration’s inner surface is clean and free of contaminants, which can interfere with bond strength.
- Apply the Cement: Use a spatula or appropriate applicator to place a smooth, uniform layer of cement onto the restoration.
- Tip: Avoid overloading the restoration to reduce cleanup time.
- Position the Restoration Immediately: Align the restoration with the prepared area and press firmly to seat it.
- Remove Excess Quickly: As soon as the restoration is seated, any extra cement squeezed out at the margins should be wiped away (more on this below).
By working confidently and with a steady hand, you’ll minimise waste and maximise performance.
For further reading on proper application techniques, check out this guide.
Checking Restoration Fit
Before committing to final cementation, it’s important to verify that the restoration fits properly. A poor fit not only affects the longevity of the restoration but can also lead to discomfort or even failure.
Here’s how to check the fit step-by-step:
- Trial Position the Restoration: Place the restoration without cement to assess its fit. It should sit flush with the prepared tooth without rocking or any visible gaps.
- Evaluate Margins Closely: Use magnification to inspect the margins. Any overhanging material or improper seating should be corrected before cementation.
- Address Adjustments: If adjustments are needed, make them before applying cement. This could involve minor grinding or smoothing.
- Re-check After Adjustment: Ensure that the fit remains ideal even after modifications.
By taking the time to confirm the fit prior to cementation, you avoid potential misalignments during final placement. For more on fit verification, you may find this science-based overview helpful.
Removing Excess Cement
Excess material around the restoration not only looks unsightly but can cause soft tissue irritation and plaque retention. Removing it efficiently is therefore critical.
Here’s a foolproof method for cleaning up excess cement:
- Initial Cleanup: Use a plastic or stainless-steel instrument to gently clear away the bulk of the material from the margins before it fully sets.
- Dental Floss Technique: Thread dental floss around the interproximal areas to remove cement in hard-to-reach spaces. Pull the floss through without snapping it up and down to avoid dislodging the restoration.
- Final Inspection: Once the majority is removed, inspect the site to ensure no tiny fragments remain. Any leftover material could harden and cause long-term complications.


